 Purr
Getting started
Send your first request, inspect the response, and save it in your workspace.
Install Purr
Download Purr for macOS from the official website, open the disk image, and move Purr to Applications.
Prefer to build it yourself? Clone the public repository and follow its Getting started instructions for prerequisites and setup.
Meet your workspace
On first launch, Purr opens a local workspace called Personal. An Untitled Request is already open in the center, ready for your first HTTP request.
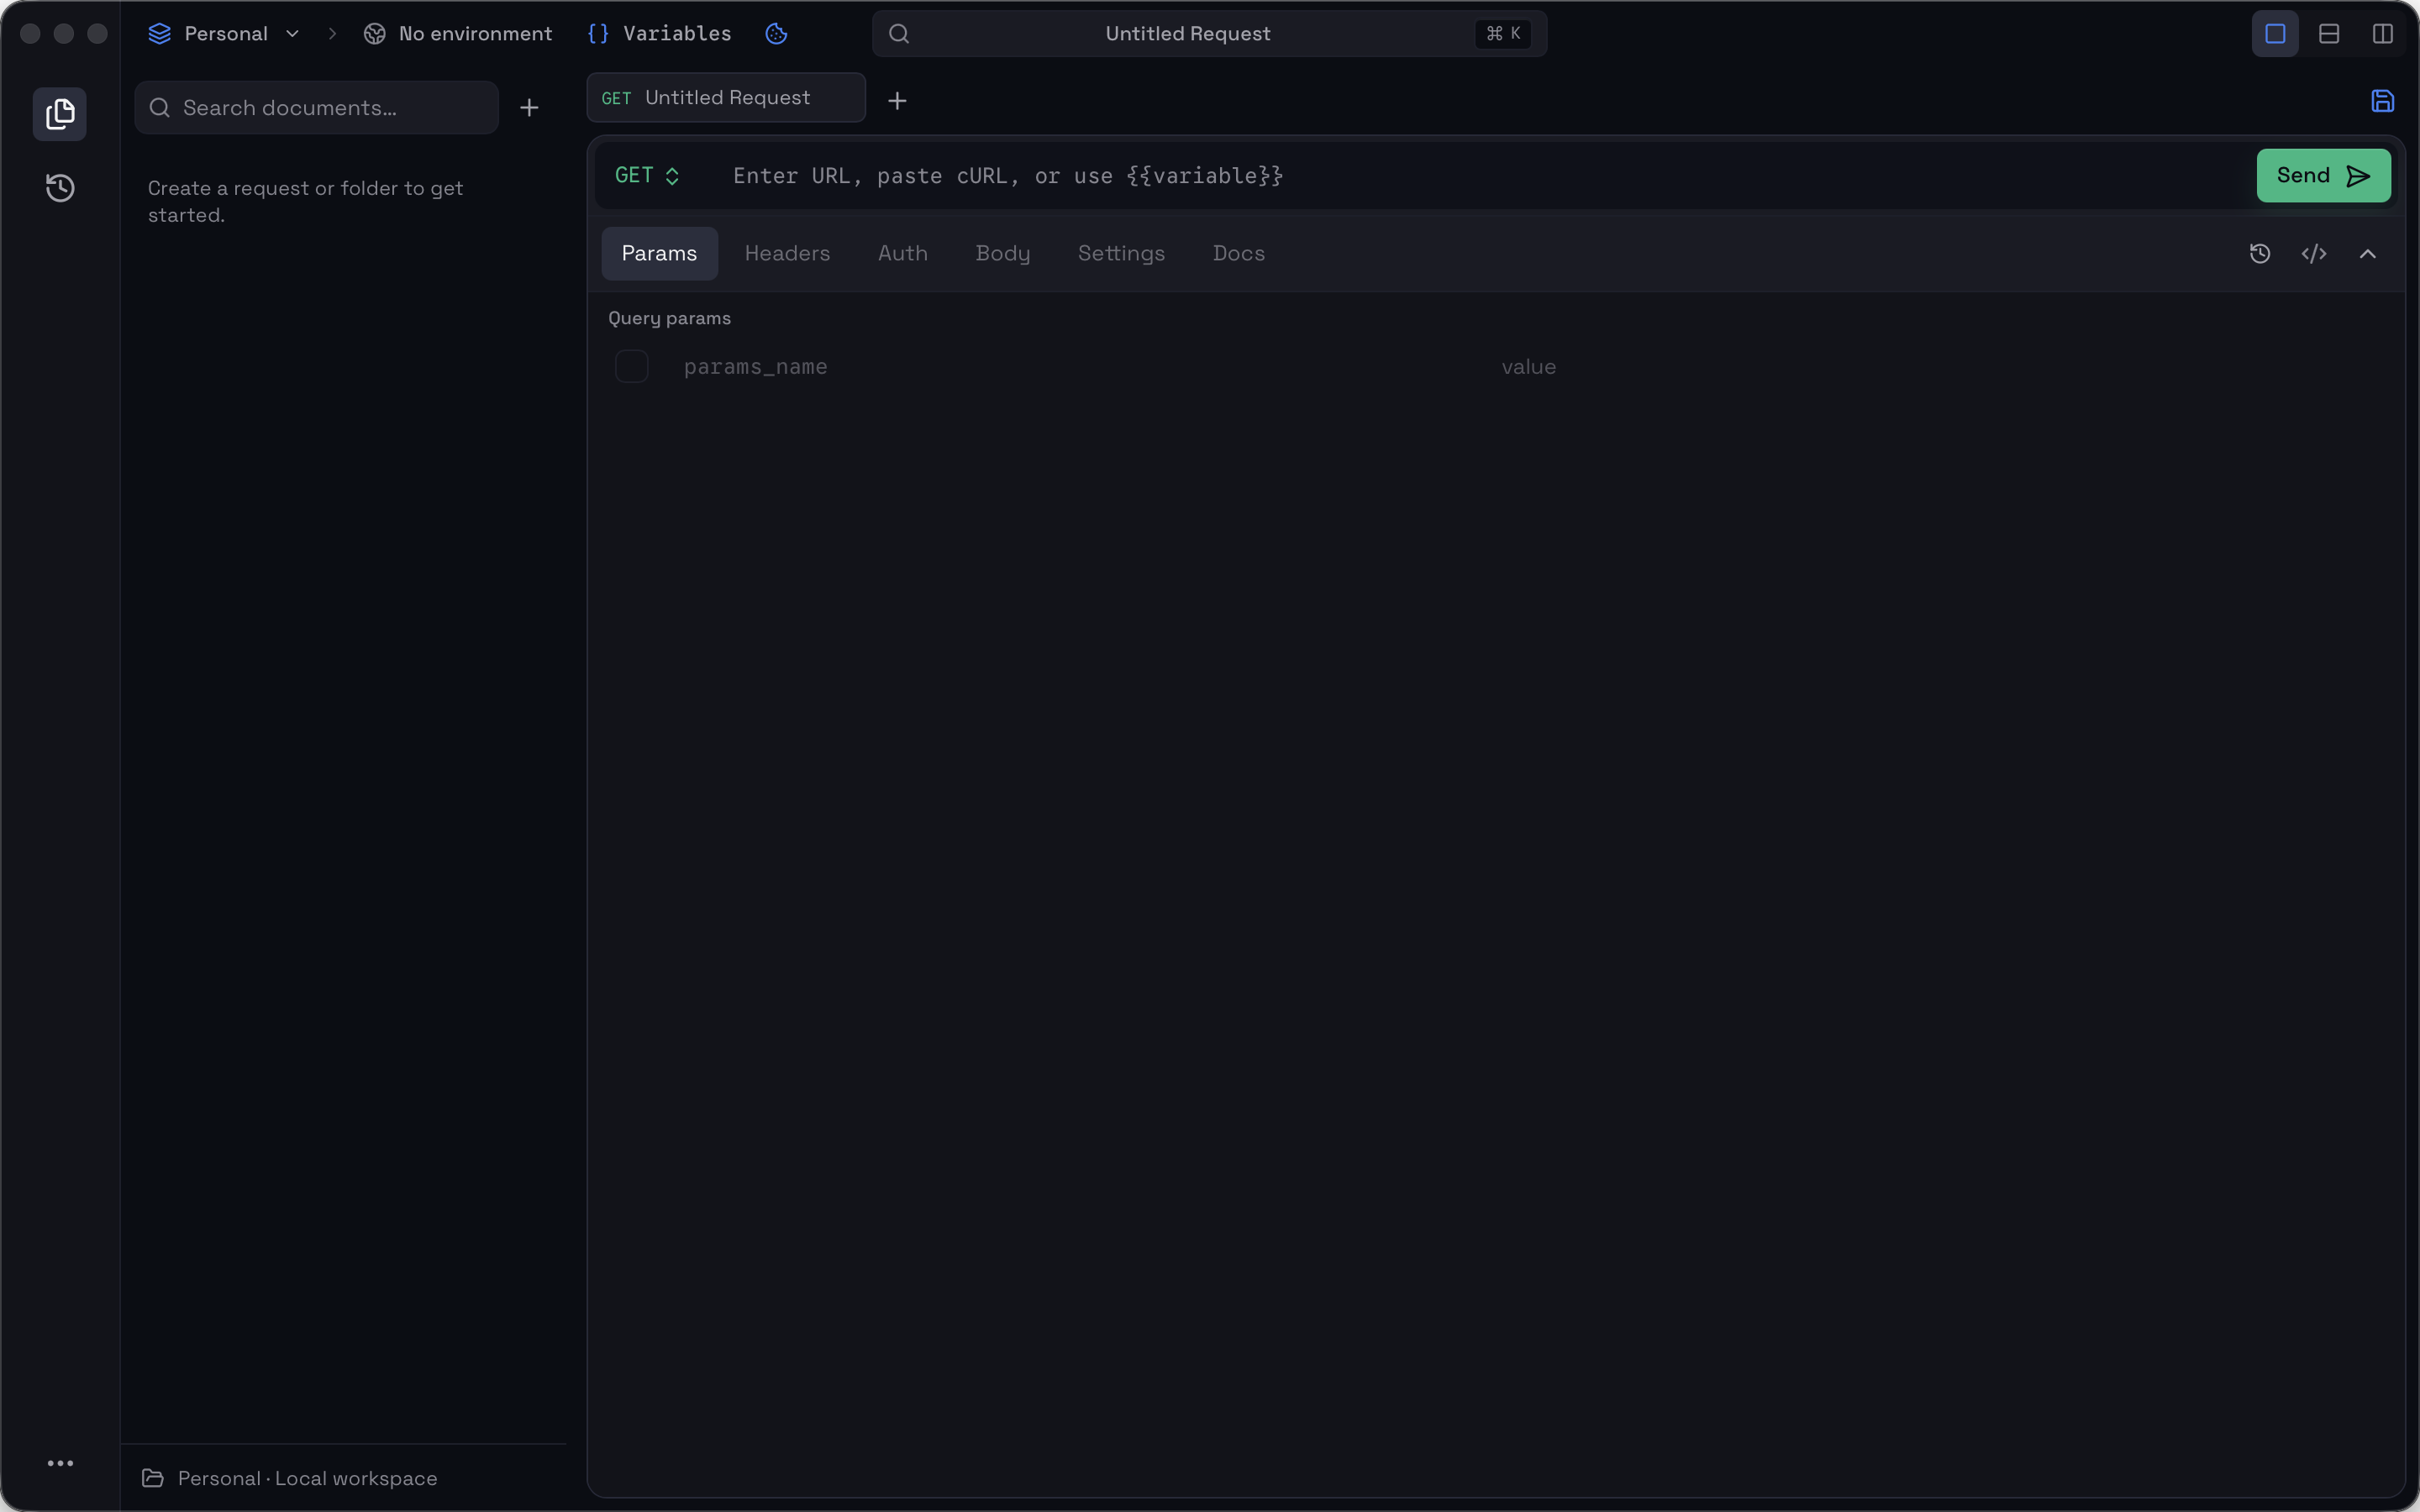
- Activity rail, on the far left: switch between Documents and History.
- Documents sidebar: find saved requests, folders, and drafts in this workspace.
- Header: choose the current workspace and environment. No environment is fine for this example.
- Request editor: choose a method, enter a URL, and send the request.
You do not need to create a workspace, folder, or environment before sending a request.
Send your first request
Enter the URL
Keep the method set to GET. Paste this URL into the field next to it:
https://jsonplaceholder.typicode.com/posts/1This public JSONPlaceholder endpoint returns one example post. No authentication, headers, or request body are needed.

Click Send
Click Send to see the response. Purr automatically focuses on the response after execution in the default Canvas layout, collapsing the request details so the result has room.
Read the response
You should see 200 OK and a JSON object with userId, id, title, and body. For this URL, id is 1. The response header also shows the elapsed time and response size; these can differ from the example.
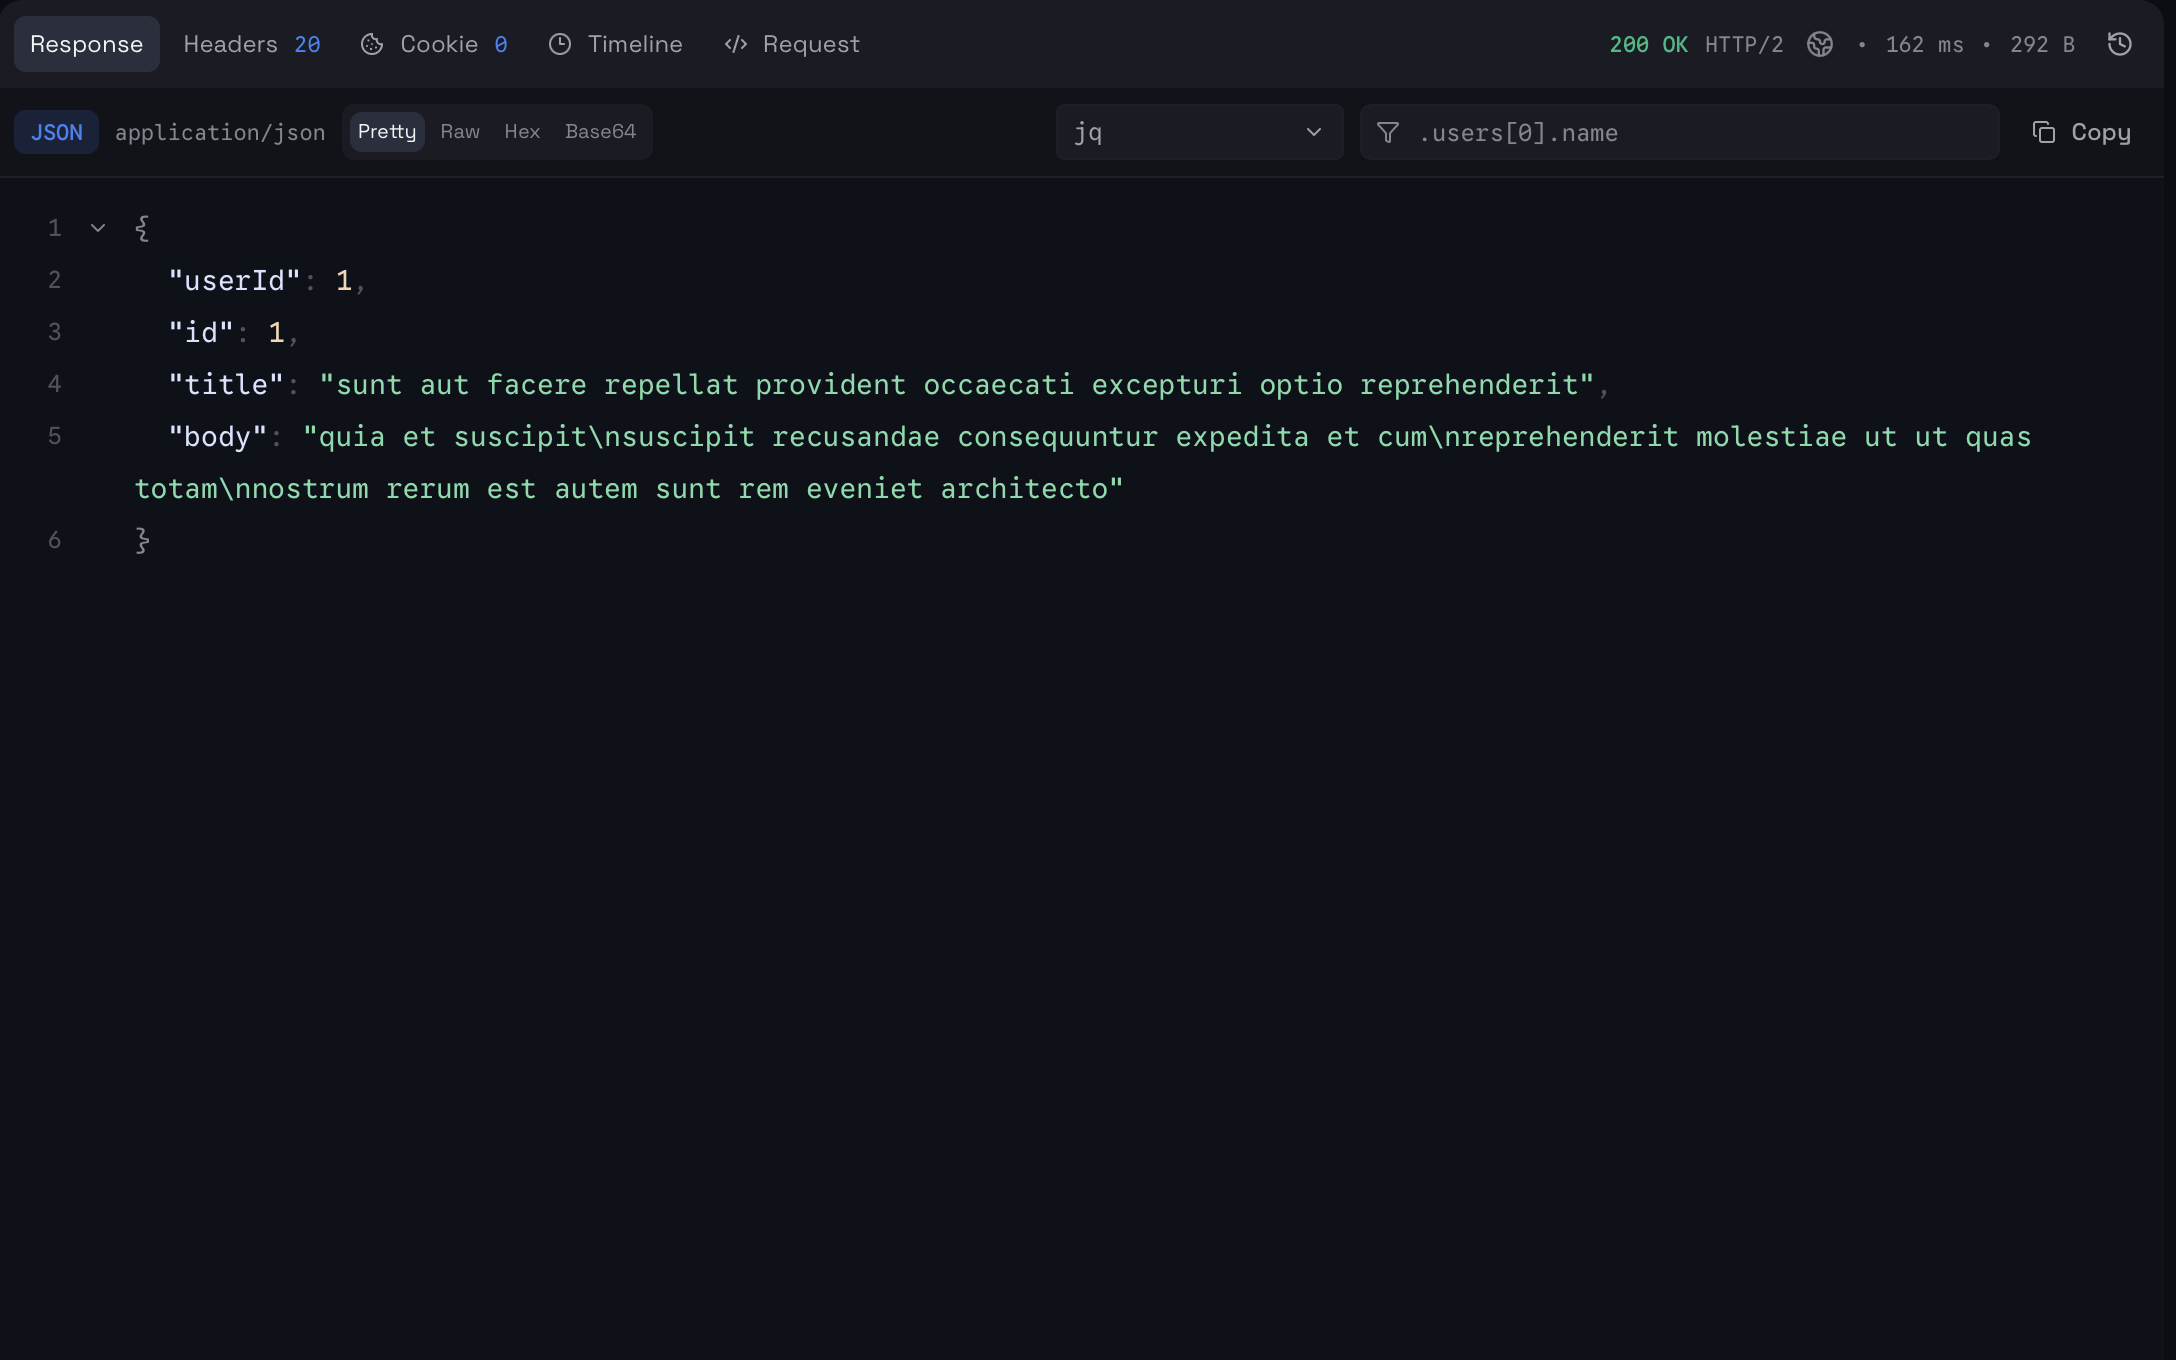
Pretty makes the JSON easier to read. Use the response tabs to inspect Headers, Cookie, or Timeline, or switch to Request to inspect the executed request. See Responses for more detail.
If the request fails, check the URL and your network connection, then send it again. JSONPlaceholder is an external service, so it needs an internet connection.
Choose a layout
The three buttons at the top right change how you see the same request and response:
- Canvas: focus on editing, then let the response expand after execution.
- Horizontal split: keep the request above the response.
- Vertical split: keep the request beside the response.
Changing the layout does not send the request again.
Save and organize your request
Turn the draft into a saved document
As soon as you start editing, the request appears under Drafts in the sidebar. It is a local working draft until you save it as a named document.
- Click the Save document icon at the right of the tab bar, or press ⌘S.
- Enter a name, such as Get a post.
- Click Save.
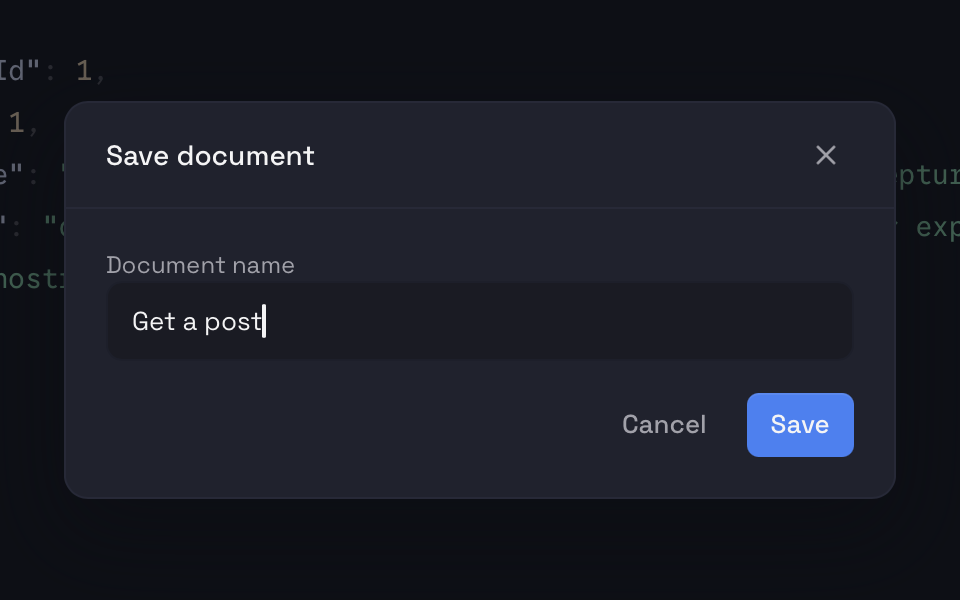
The request moves out of Drafts and into the workspace’s document list. When you make further changes, use ⌘S to update the saved request.
Keep related requests in a folder
- Click + next to the document search field and choose Folder.
- Name it Getting started and click Save.
- Open the Get a post actions menu, choose Move to…, then select Getting started.
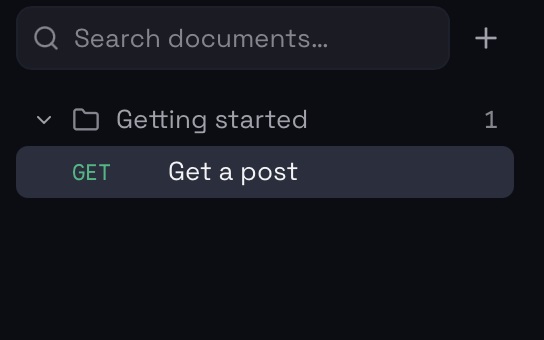
You can reopen the request from the sidebar whenever you need it. Learn more about methods, parameters, headers, and bodies in HTTP requests.
Next steps
Continue with Workspaces and environments to organize projects and reuse values such as a base URL across requests.
- HTTP requests — configure what you send.
- Responses — inspect what came back.
- Dynamic variables — use a value from one response in another request.