 Purr
Workspaces and environments
Organize a project, share request settings, and switch variable values without rewriting requests.
A workspace keeps a project’s requests, folders, environments, and shared settings together. Workspace variables provide reusable values for those requests. An environment overrides selected values so you can use the same requests with a different server, account, or set of test data.
This guide builds on your first request. You will create a JSONPlaceholder workspace and use an environment to fetch a different post without changing the request URL.
Create a workspace
Start with an empty workspace
- Click the current workspace name in the header, such as Personal.
- Open New workspace and choose New empty.
- Enter JSONPlaceholder, then click Save.
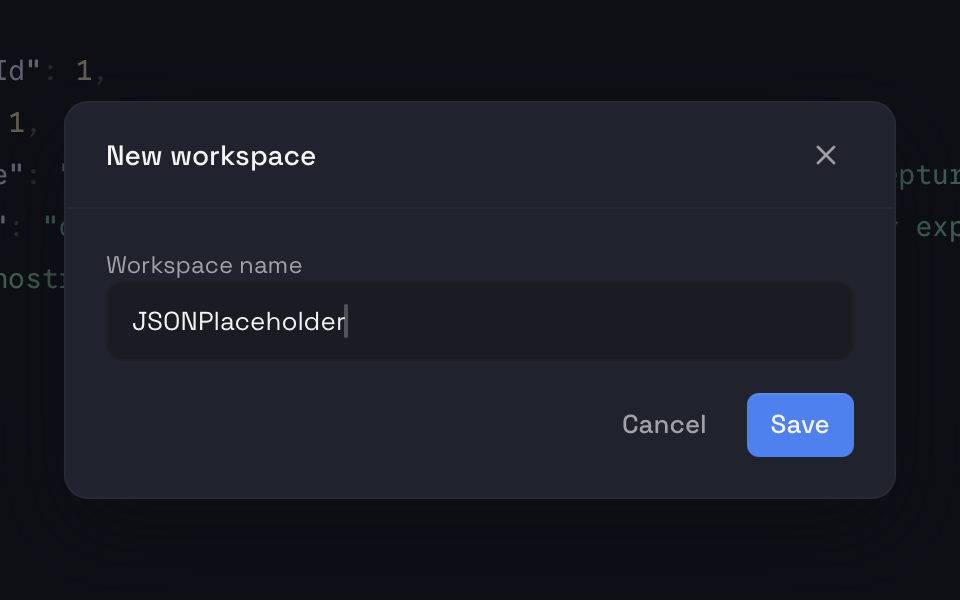
The new workspace opens with an empty Documents sidebar and an Untitled Request ready to edit. Create requests and organize them in folders as you go.
Switch between projects
Open the workspace selector again and choose a workspace from the list. Its documents, variables, environments, and request defaults become the active context. Your Personal workspace remains available; creating another workspace does not replace it.
Use workspaces for separate projects or APIs. Use environments for different configurations of the same project, such as development and staging.
Import an existing collection
Choose workspace selector → New workspace → Import to start from an existing API definition or collection.
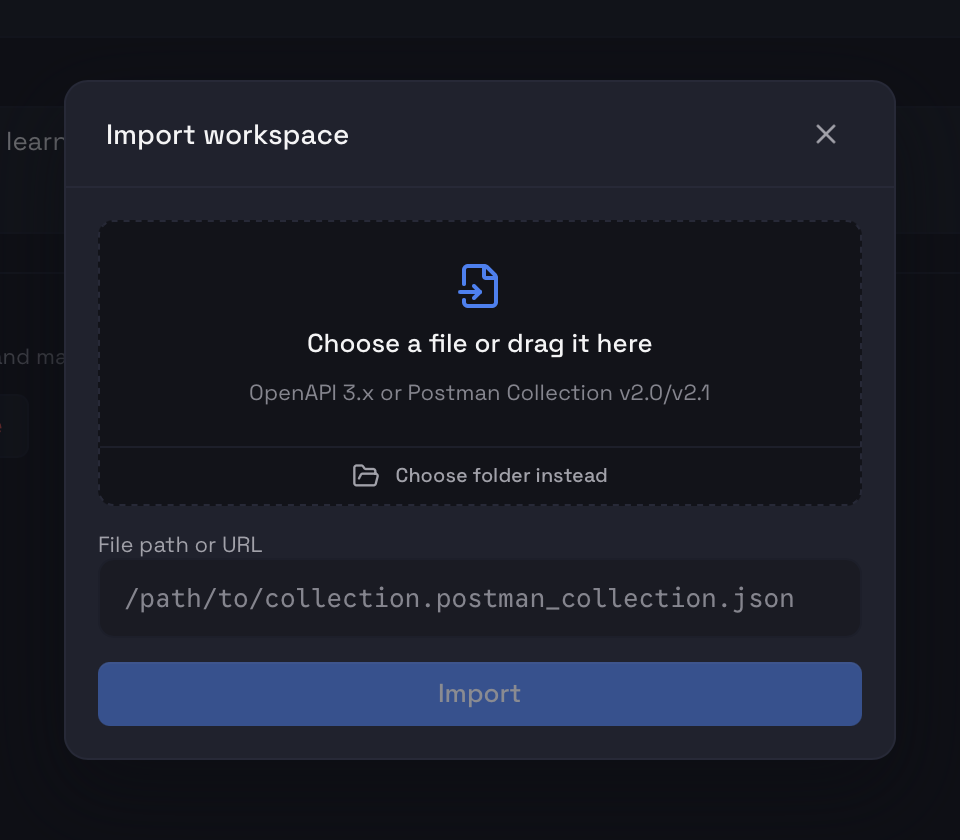
| Source | What to select |
|---|---|
| OpenAPI 3.0 or 3.1 | A JSON or YAML API definition. Use Choose folder instead for a folder containing one OpenAPI root document. |
| Postman Collection v2.0 or v2.1 | An exported collection JSON file. |
| Postman environment | Import it into an existing workspace from Variables → Environments → Import, as described below. |
Click Import. After a successful import, Purr opens the new workspace and shows an import report. Review its warnings before using the requests: unsupported features may need manual setup. For example, Postman scripts and saved response examples are not imported as executable behavior.
A cURL command is a different starting point: paste it into a request’s URL field to populate that request. See OpenAPI & cURL for more about imports.
Configure workspace settings
Open the workspace selector and choose Workspace settings. These settings belong to the selected workspace.
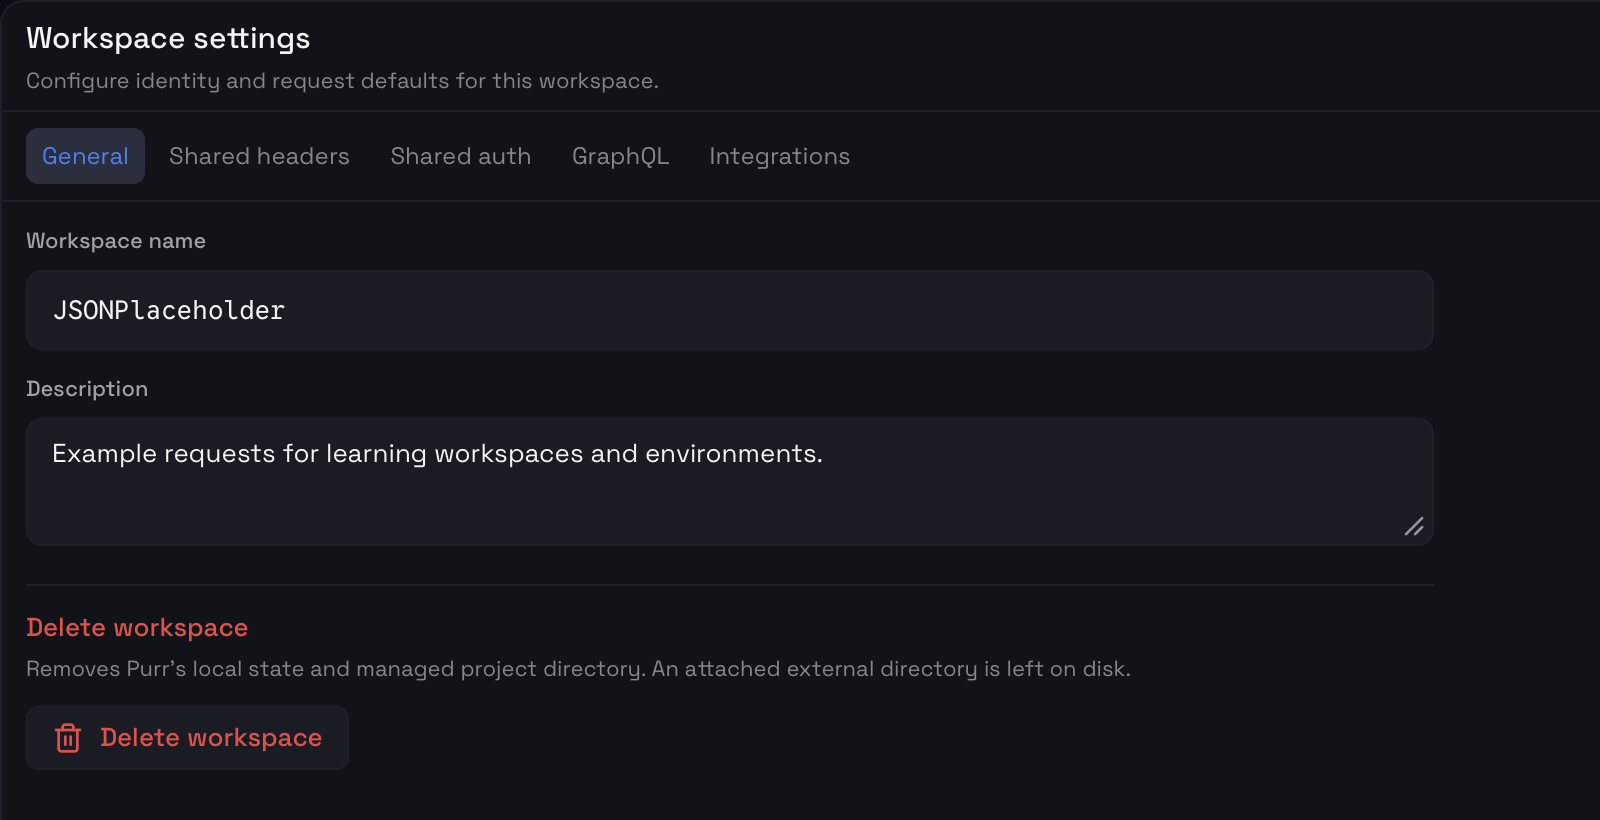
Name and description
In General, edit the workspace name and add a short description of the project. Changes are saved as you edit; there is no separate Save button for these fields.
Shared headers and authentication
Use Shared headers for headers used across requests, such as Accept: application/json. Enter a name and value in the empty row and enable the header. Header values can use variables. A request’s own header with the same name takes precedence over the shared header.
In Shared auth, choose Add shared auth, give the profile a name, configure its authentication method and scope, then click Save authentication. In a request’s Auth tab, use Inherit to select the shared profile. This lets several requests reuse one authentication configuration.
GraphQL and integrations
GraphQL selects the default Schema Connection for new GraphQL requests. Existing requests keep their selected schema. Without an explicit default, new requests use the last-used connection. See GraphQL.
Integrations manages the providers available in your Purr build, such as a trace integration. See Jaeger tracing for response-linked traces.
Add workspace variables
A static variable stores a value you enter. Use one for a base URL or another value that appears in several requests.
Define reusable values
- Click Variables in the header.
- Select Workspace in the Variables sidebar.
- Click Add static variable.
- Enter a name and value, leave the row enabled, and click the checkmark to save it.
- Repeat for the second variable below.
| Name | Value |
|---|---|
base_url |
https://jsonplaceholder.typicode.com |
post_id |
1 |
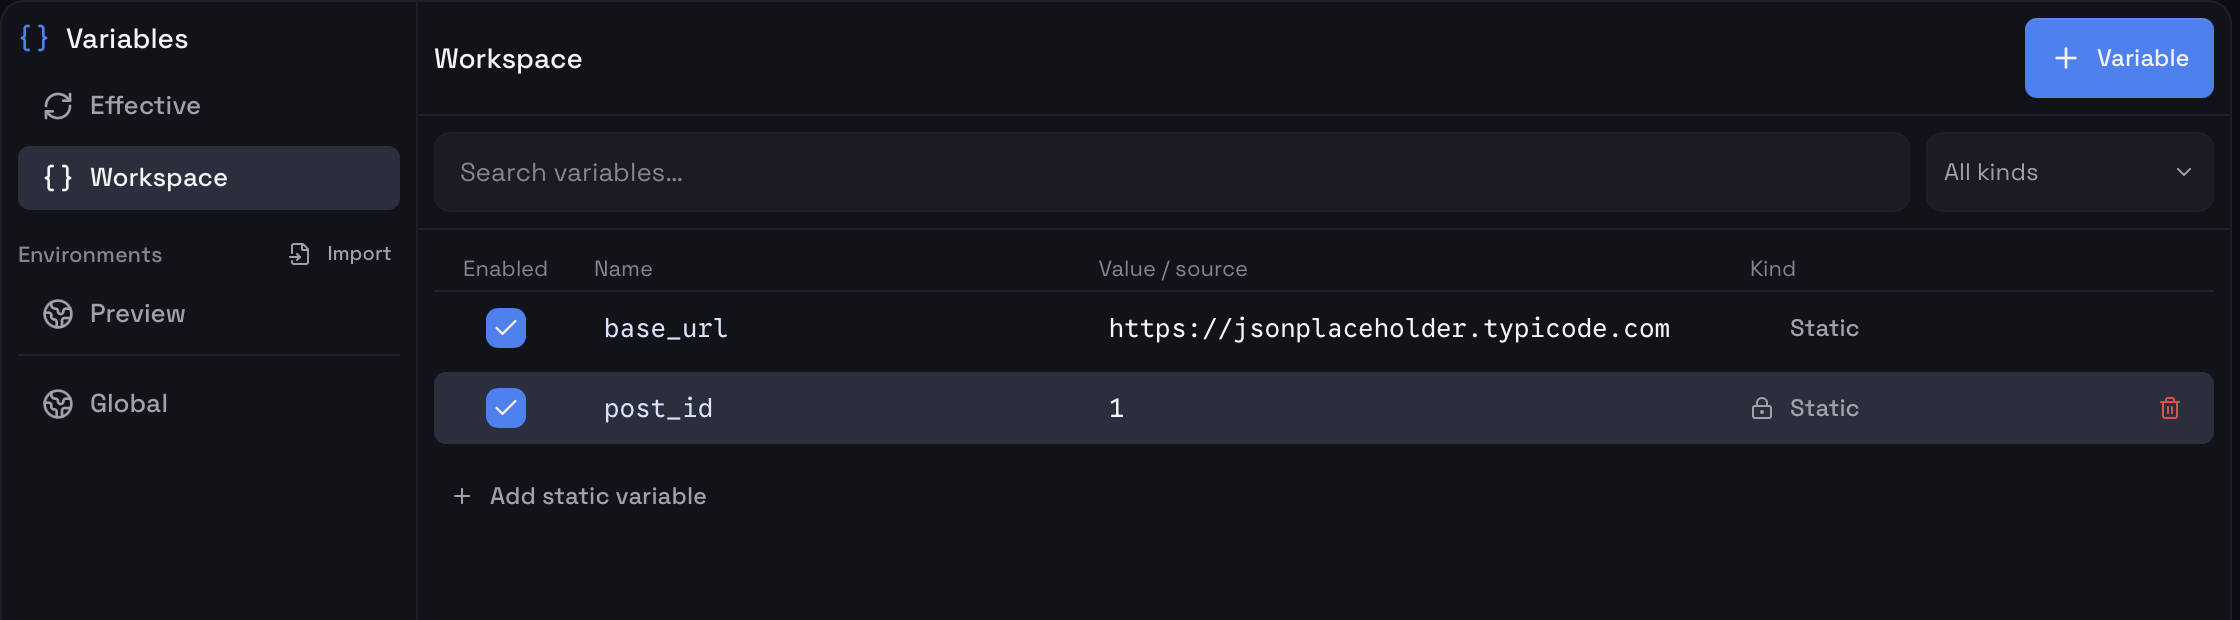
Names must be unique within a scope. Enter the plain name, such as base_url, without braces. Edit an existing row’s name or value directly; use its checkbox to enable or disable it.
Use variables in a request
Return to the request tab, keep GET, and enter:
{{base_url}}/posts/{{post_id}}With No environment selected, this resolves to https://jsonplaceholder.typicode.com/posts/1. Click Send to fetch post 1.
Purr resolves the placeholders when sending. The request keeps its template, so editing base_url updates the value used by every request that references it. Variables can also be used in query parameters, headers, authentication fields, and supported text bodies.
Save the request with ⌘S if you want to keep it as a named document. Editing variables does not save an unsaved request draft for you.
Sensitive values
For a token or password, use the row’s Mark as sensitive lock control. Sensitive values stay in local encrypted storage; portable project definitions contain a reference to the secret rather than its value. A teammate needs to supply their own secret value when using the project.
The example values on this page are public and do not need to be marked sensitive.
Create and select an environment
An environment belongs to a workspace. It holds static variables that can override that workspace’s defaults.
Create Preview
- Open the environment selector in the header, initially No environment.
- Choose New environment.
- Enter Preview and click Save.
- In Variables, select Preview under Environments.
- Add an enabled static variable named
post_idwith the value2.
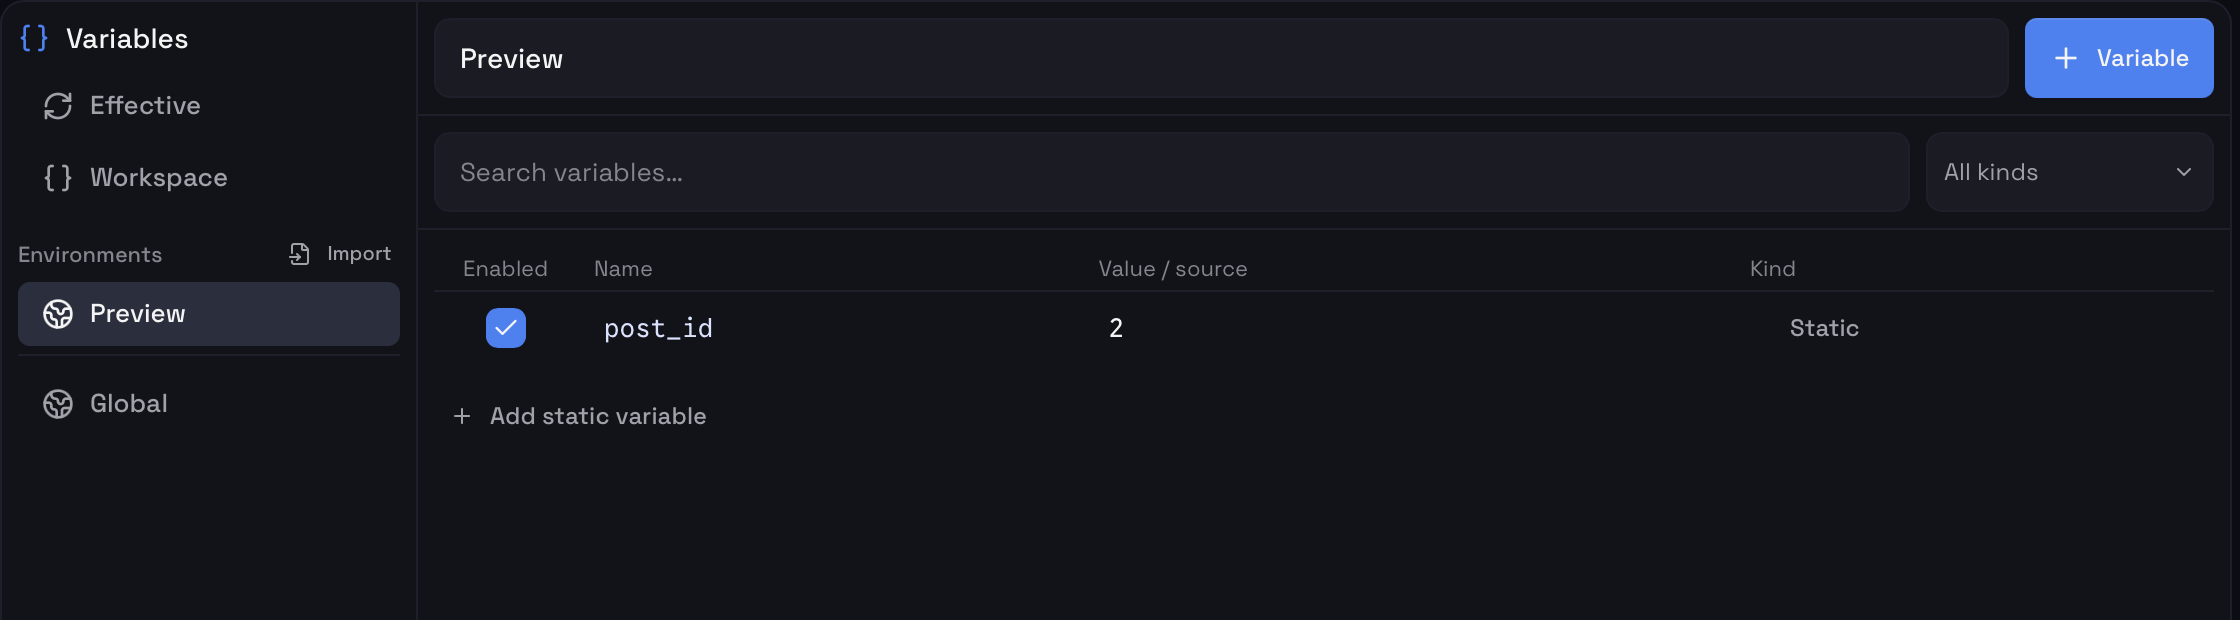
Saving the new environment also selects it. You can rename it in its Variables editor and change its values there. Selecting an environment in the Variables sidebar opens its definitions for editing; use the header selector to choose which environment requests will use.
Check the effective values
Select Effective in the Variables sidebar to see the values available in the current context. The Definition column shows where each value comes from; click it to open that definition.
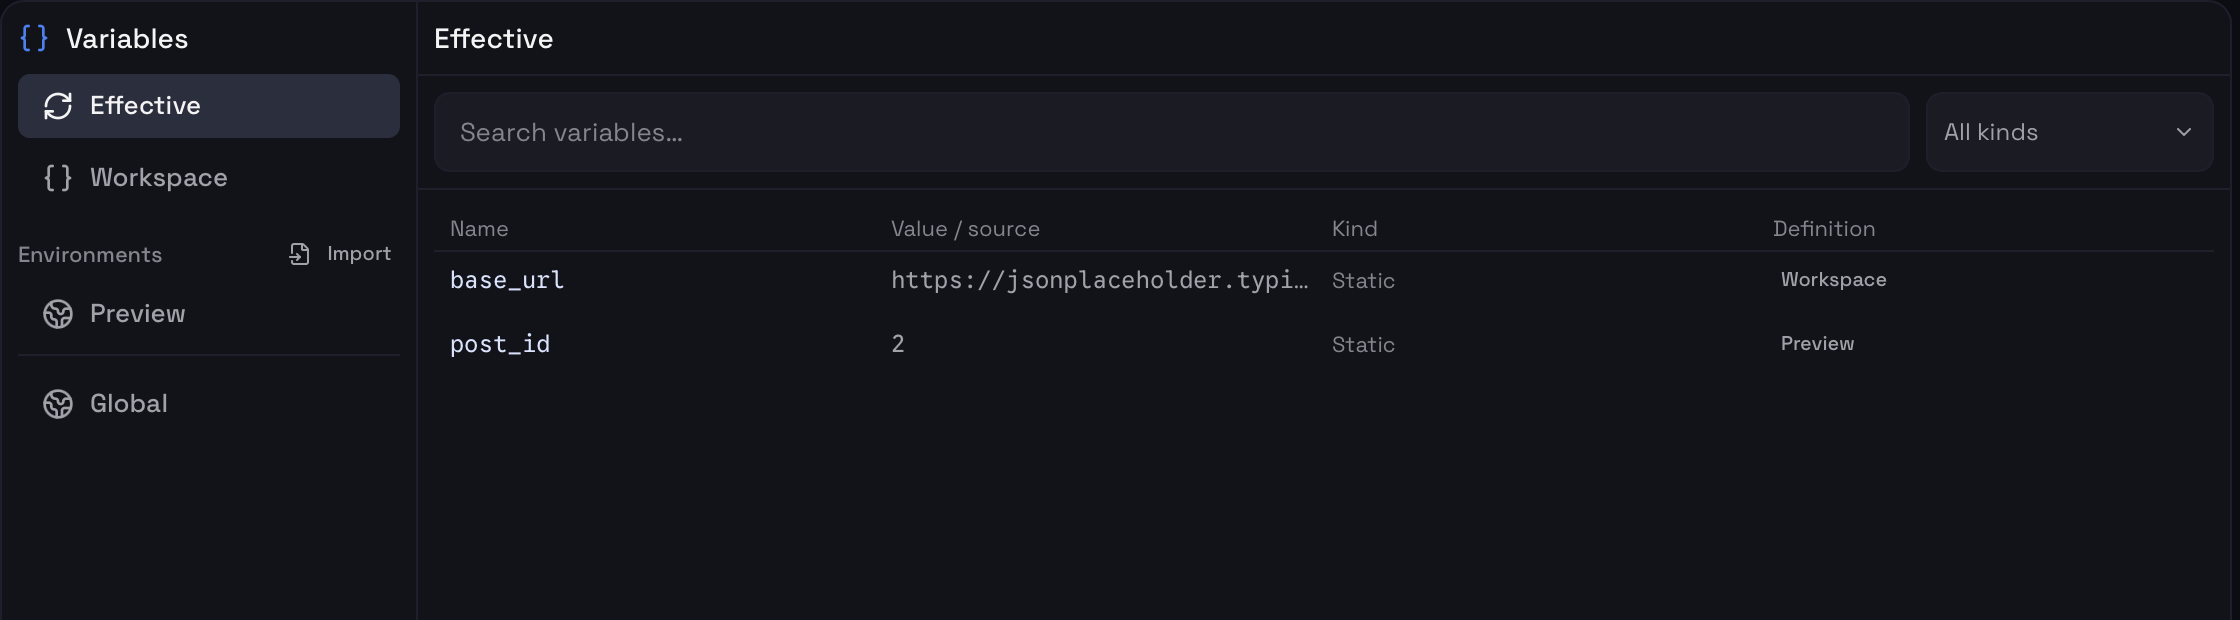
| Header selection | Effective base_url | Effective post_id |
|---|---|---|
| No environment | Workspace value | 1 from Workspace |
| Preview | Workspace value | 2 from Preview |
An enabled environment variable wins over a workspace variable with the same name. Disabling that environment row makes the workspace value available again. A disabled variable with no enabled fallback cannot be used in a request.
The Variables sidebar also has a Global scope for static values shared across workspaces on this installation. Keep project-specific values in Workspace or an environment. Global variable names must not conflict with workspace or environment names.
Switch without rewriting the request
Use the header’s environment selector to switch between No environment and Preview. The Effective view updates immediately.
Return to your GET request and click Send with Preview selected. The unchanged template now requests /posts/2, and the response contains id: 2.
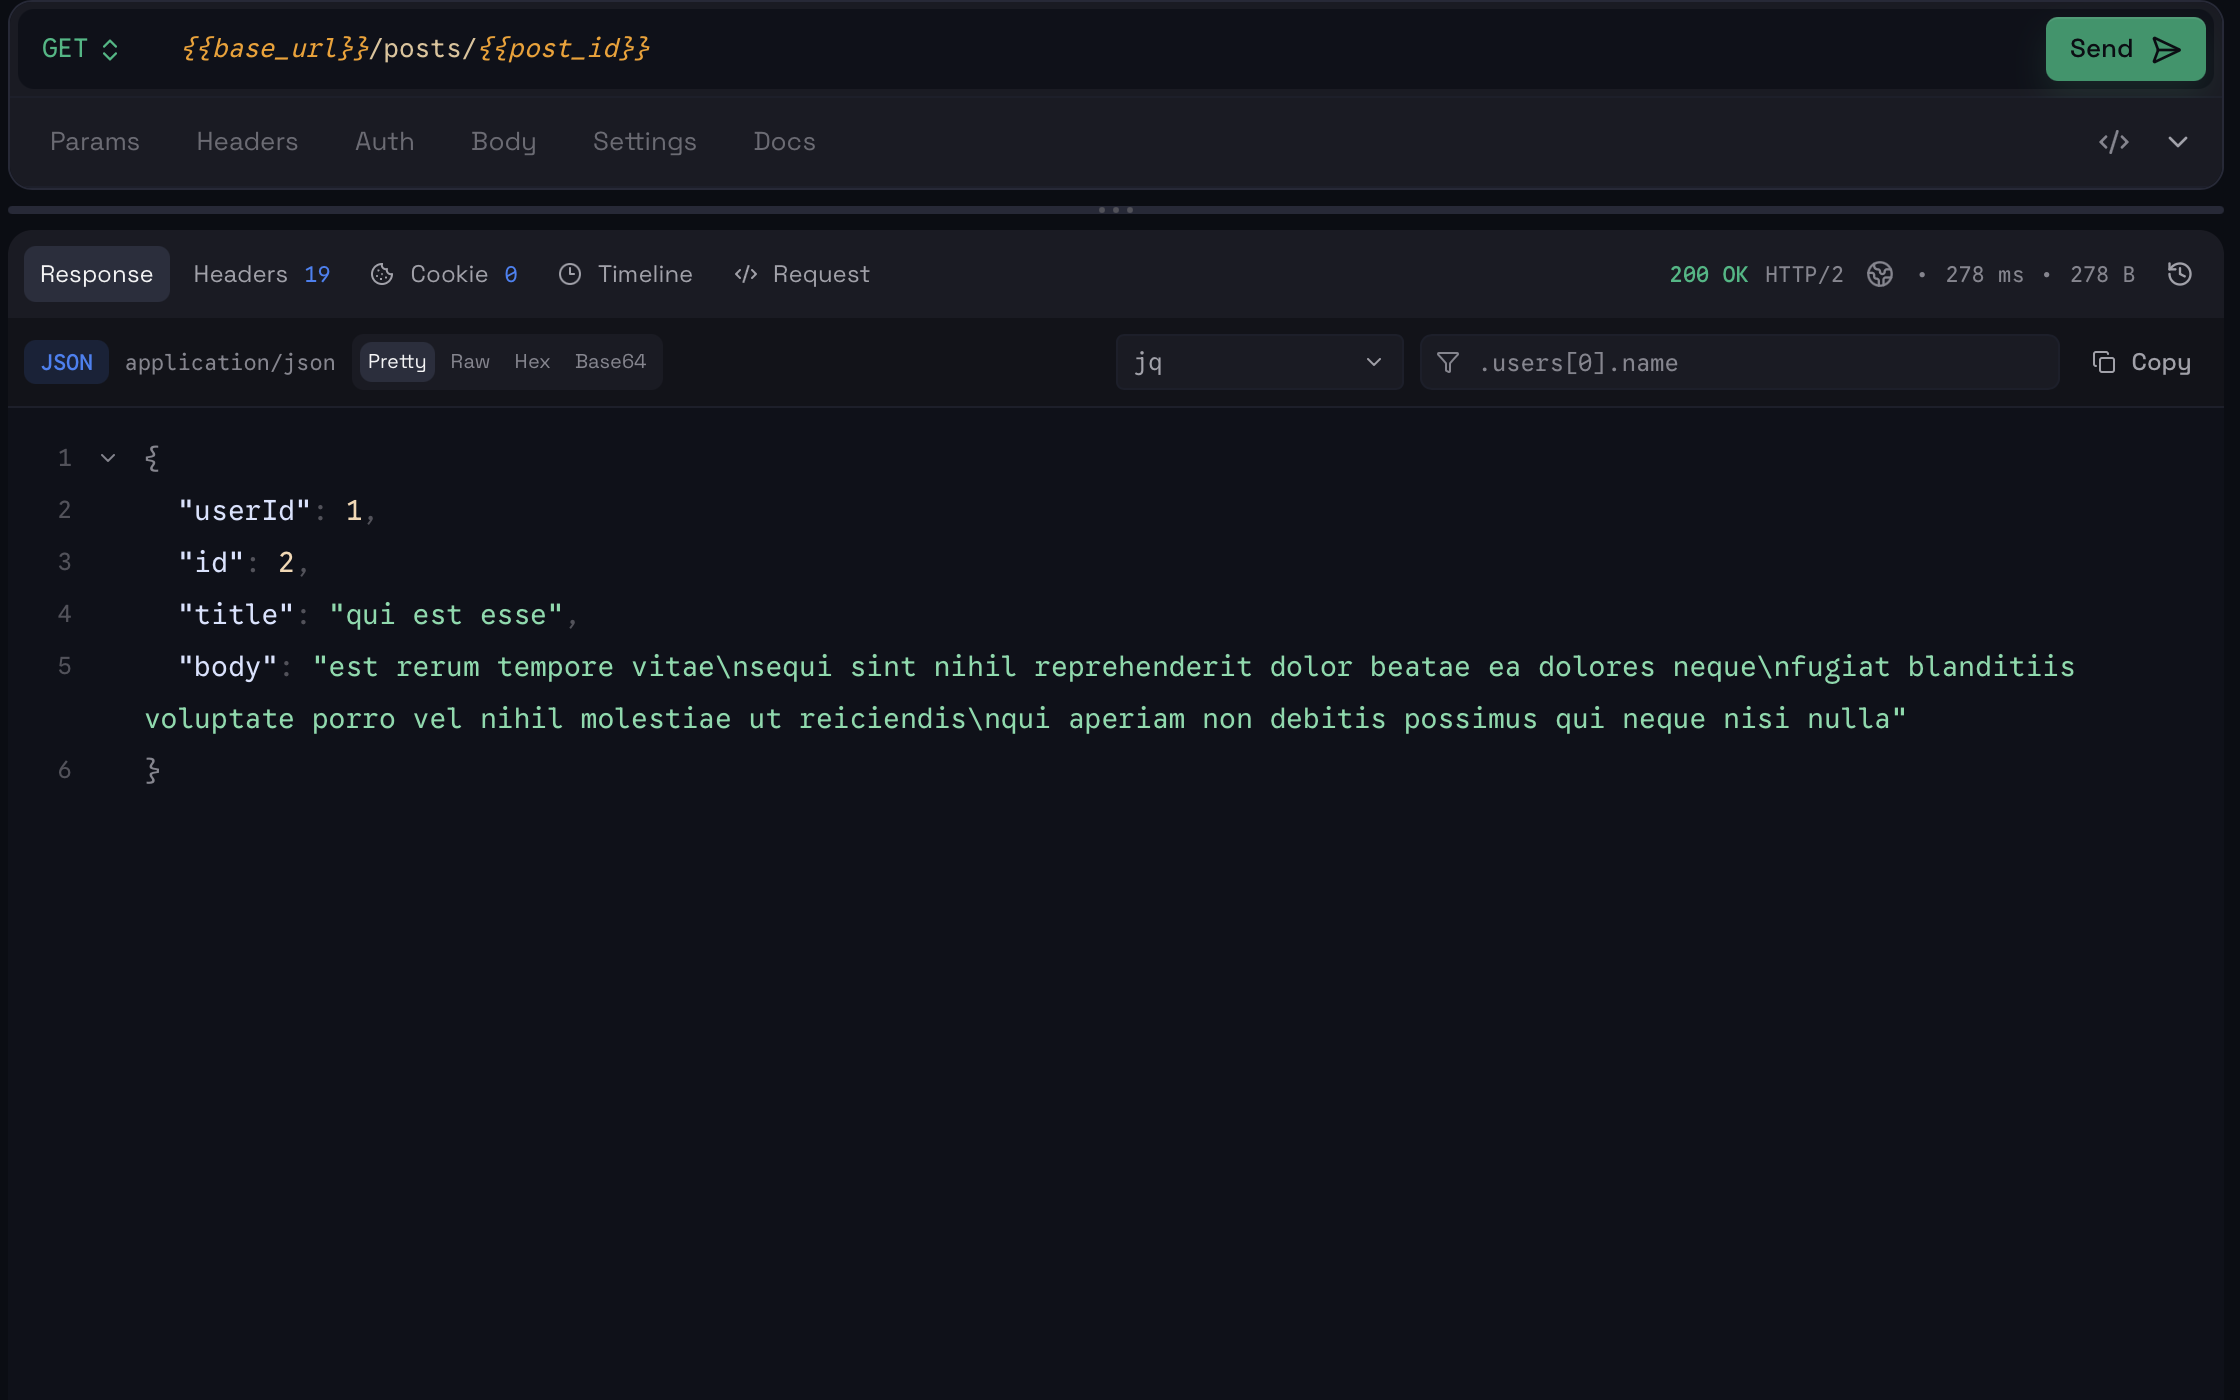
Switching an environment does not send the request again. Click Send to get a response using the newly selected values.
Import a Postman environment
Open Variables and click Import beside Environments. Choose a Postman environment JSON export, drop it into the dialog, or enter its path or URL, then click Import. Review the imported values and select the environment in the header before sending requests.
Environment import adds values to the current workspace; it does not create a separate workspace. Import a Postman collection through New workspace → Import instead.
Troubleshoot variable values
If a value is unexpected, check the active environment in the header, then open Effective to find the winning definition. Editing an environment does not necessarily make it active.
If a variable cannot be resolved, check its spelling, scope, and enabled checkbox. Use double braces in requests, such as {{base_url}}, and keep them out of the variable’s name. Avoid variables that refer back to themselves.
Next steps
This page covers values you enter yourself. Dynamic variables obtain values from a saved request’s response, such as an access token or generated ID, and have their own workflow.
- Dynamic variables — let one response provide a value for another request.
- HTTP requests — configure parameters, headers, authentication, and bodies.
- Responses — inspect the result of a request.